
Stance Confusion
“I see so many different things written and so many differences in opinion regarding proper stance. What’s the formula for a proper stance in sporting clays?”
Proper stance for a given target begins with a solid shot plan in which you identify and landmark your break point. For a right-handed shooter, the left foot, or lead foot, should be generally oriented toward the break point but slightly more oblique. This means that, if we establish the break point as 12 o’clock from your position, the lead (left) foot should be pointed at 1 o’clock (slightly to the right) to the break point. The heels should be approximately eight to 12 inches apart, with the right foot at a comfortable angle away from the lead foot, generally oriented to between 2 and 3 o’clock of the break point. The key is to keep the distance between the heels at between eight and 12 inches. The natural tendency is for a shooter’s stance to be too oblique to the break point (lead foot oriented toward 3 o’clock instead of 1 o’clock) with the feet spread too far apart.
For the left-handed shooter, everything is a mirror image: right foot (lead foot) oriented at 11 o’clock, assuming the break point is 12 o’clock, with the left foot (trail foot) oriented between 9 o’clock and 10 o’clock and heels eight to twelve inches apart.
Whether left-or right-handed, balance should be about 60 percent forward and 40 percent back. Generally, the balls of the shoulder joints should be oriented in a direct line over the balls of the feet, buttocks (or belt buckle) slightly back and nose over toes. A good way to check your stance is to imagine a plumb bob, or weight, hanging on a string from the tip of your nose. The plumb bob should touch the ground or your toes, and the string should not touch your body.
For a pair of targets, the right-handed shooter should orient his or her stance to the left-most break point and the left-handed shooter to the right-most break point. If you follow these simple steps, you will have the least amount of tension or torque at the break points as you execute a single or a pair of targets.
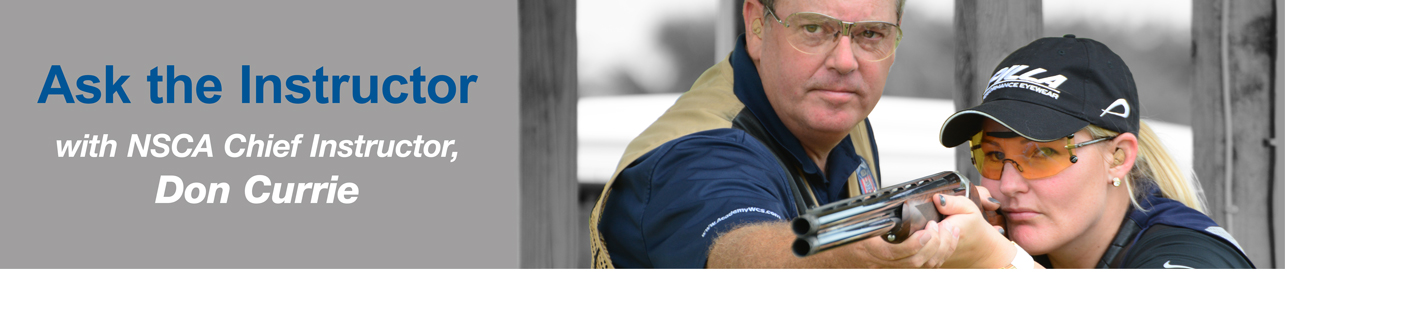
Don Currie is NSCA’s Chief Instructor, an Orvis Wingshooting School instructor, and Master Class competitor. To get free shooting tips and videos, sign up for his monthly newsletter. You can also see more tips from Currie at www.doncurrie.com.