
Barrel Angle
“I’ve been taught two different approaches to setting barrel angle at the hold point. The first method calls for the angle of the barrel to remain oriented on the target line and trace the target’s line smoothly through the break point. The other method starts with a lower barrel angle at the hold point. As I move toward the break point, both hands move in unison with equal force as I mount just before the break point. Which is correct?â€
Neither technique is wrong, and the proper barrel angle for a given target can vary depending on the target. With the first method, your back hand moves more than your front hand; your front hand acts like more of an anchor for your move, and muzzle movement is reduced during your mount. Theoretically, you could pull the trigger at any time during your mount and move and break the target. The second method you mention eliminates any possibility of “see-sawing†or “muzzle wobble†and keeps the muzzle from occluding the target line during the mount and move.
There is actually a third barrel angle technique that involves keeping the muzzle on the target line and using mostly the back hand to get the gun mounted and to the target. This third technique might be appropriate for a fast, longer distance, trap-like target when shooting FITASC. While either of the other two barrel angle techniques will work on any target, I would suggest that the first technique (keeping the muzzle angle oriented on the target line throughout the mount and move) would be more effective on targets with a flat trajectory, like a flat-line crossing target or flat-line quartering target, and less effective on transitioning targets that are changing trajectory, speed or both at the break point. With transitioning targets, the chance of occluding the target with the muzzle runs much higher using this technique, and keeping the muzzle a bit farther away from the target line is appropriate. The second technique you mentioned (hands moving in unison to the break point) will work on any target but does generate more muzzle movement. I use the first technique on flat trajectory targets and the second technique on targets that are transitioning at the break point.
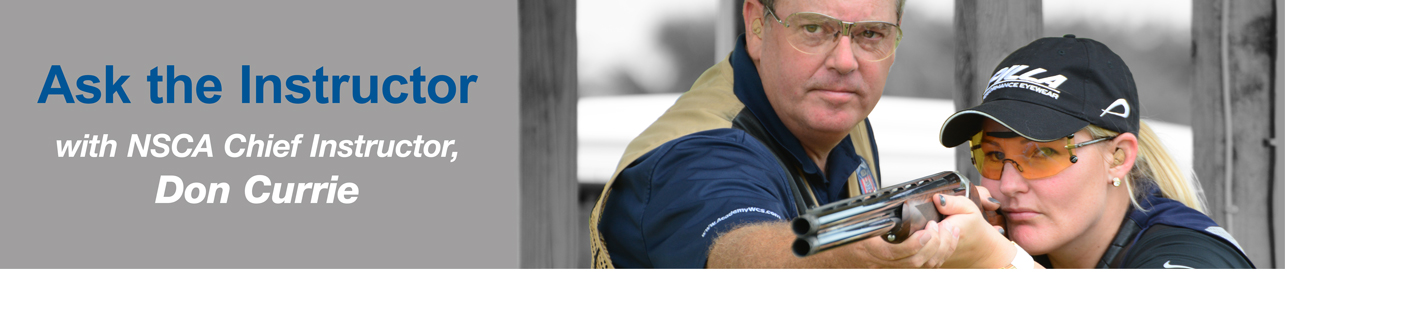
Don Currie is NSCA’s Chief Instructor, an Orvis Wingshooting School instructor, and Master Class competitor. To get free shooting tips and videos, sign up for his monthly newsletter. You can also see more tips from Currie at www.doncurrie.com.